MAKING OF SPACE JADE
WEEK 33 - A SIMPLE ROCK TEXTURE FROM SCRACTH
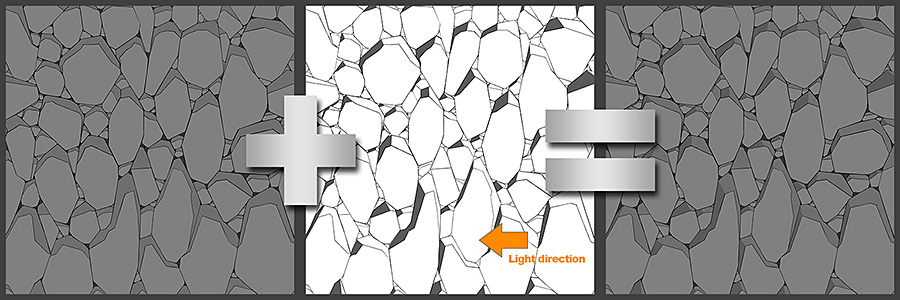
STEP 1: INTRODUCTION AND THE DESIGN
 |
||
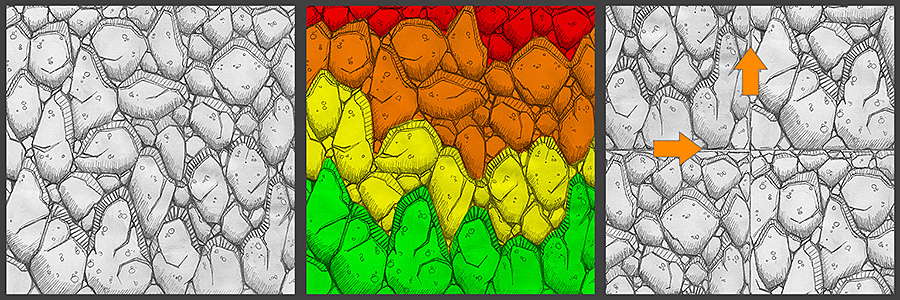
| 1.1 - Original hand drawn sketch. Scanned and upscaled to 8192px * 8192px | 1.2 - Texture depth visualization. Green is closest and red is farthest.(Check Step 6.1) | 1.3 - Offset the original image horizontally and vertically 50%. |
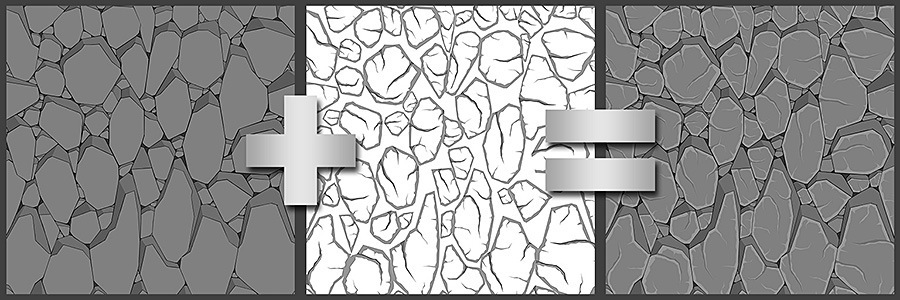
STEP 2: FROM SKETCH TO LINE ART
 |
||
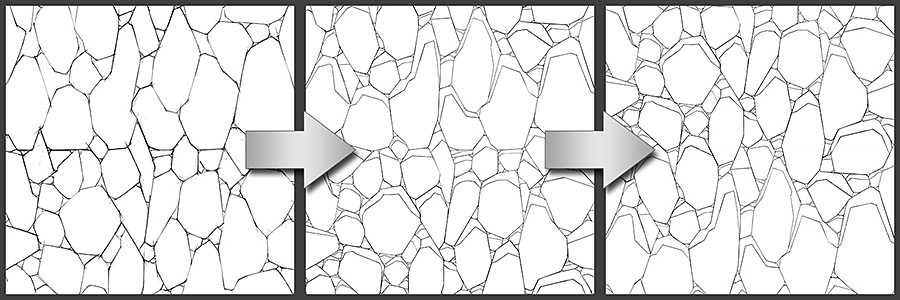
| 2.1 - Redraw the image digitally and remove any seams from the image. | 2.2 - Here's the final line art version. | 2.3 - Offset the line art version back to the original position. |
STEP 3: BASE COLORING
 |
||
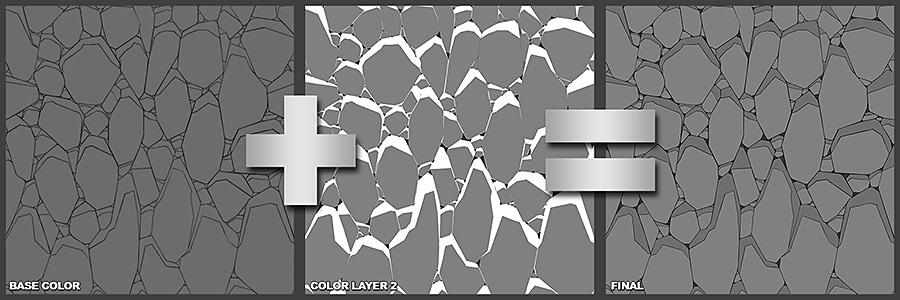
| 3.1 - Set a base color ( I usually go from dark to light ) | 3.2 - Use a lighter color for the surface and a darker color for the gaps. | 3.3 - Here's the result. |
STEP 4: A LITTLE BIT MORE DEPTH
 |
||
| 4.1 - Step 3: Texture. | 4.2 - Add a shadow | 4.3 - Still a simple rock texture but with a little bit more depth. |
STEP 5: ADDING DETAIL
 |
||
| 5.1 - Step 4: Texture | 5.2 - Add cracks and detail. | 5.3 - Here's the result. |
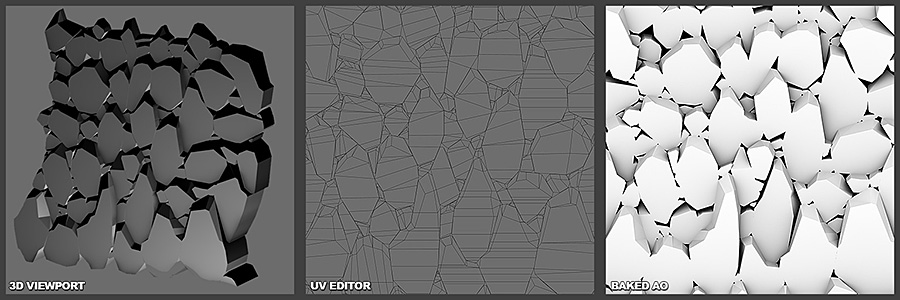
STEP 6: CREATING AN AMBIENT OCCLUSION
 |
||
| 6.1 - Create a simple 3D-model using Step 1.2 image as a reference. | 6.2 - A simple 1-dimensional UV-projection from straight ahead. | 6.3 - Bake an ambient occlusion map. |
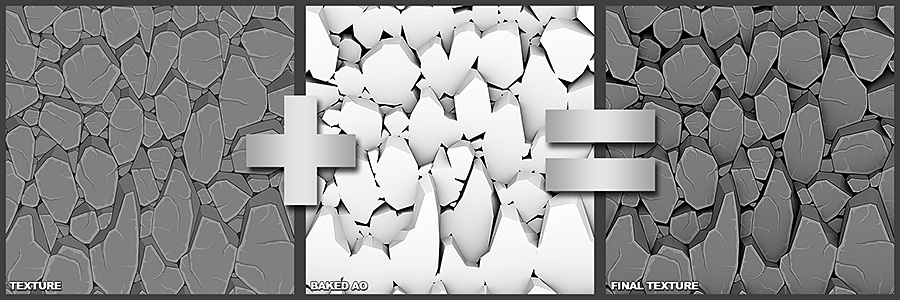
STEP 7: FINISHING UP
 |
||
| 7.1 - Step 5: Texture | 7.2 - Multiply with an AO map | 7.3 - Here's the seamless rock texture with depth. |
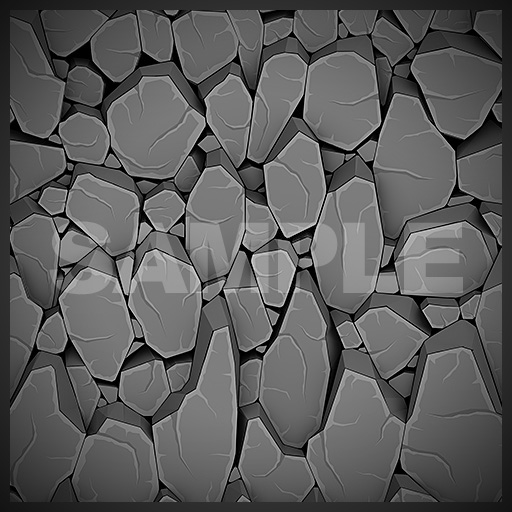
FINAL RESULT: